Showing posts with label Love/Friendship. Show all posts

Thursday, March 31, 2016

Pink & Green with Altenew Stamps

Hello,

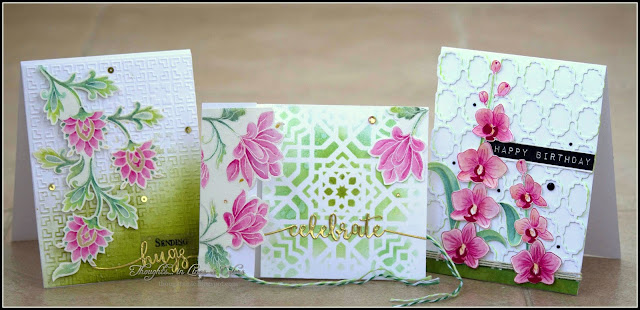
I am stopping by to share some cards I created with inspiration from Altenew's March Challenge Photograph.Check out these three cards and let me know what you think.

altenew stamps

Card 1:

 It is a double fold card. I used a Crafter's Workshop stencil for the background and Persian Motifs stamps. Distress inks are used for background coloring while Prima's watercolor pencils for flowers. I love those pencils- they are soft and easily turns into watercolors with a touch of water. If you color with pencils first and add water, it creates nice gradient, almost like that can be created with Zig's Clean Clear brush markers. The sentiment is from Avery Elle's latest die set. The baker's twins hold two flaps of the card front.


Persian motifs altenew stamps


------

Card 2: 

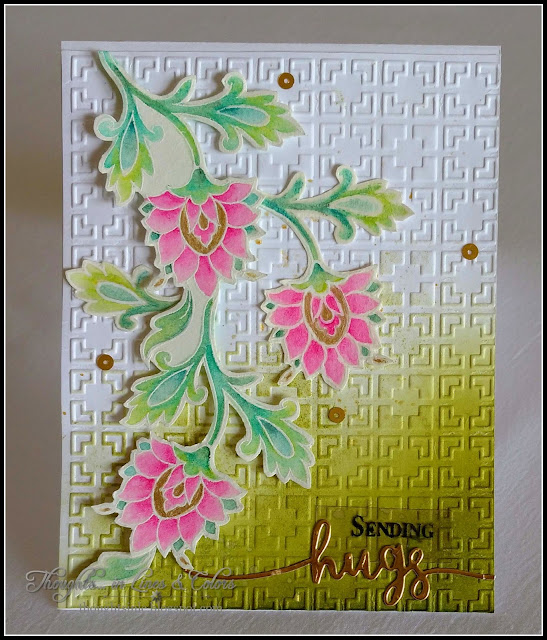
This one is my favorite. I used Roman Tile Embossing folder from Cuttlebug, Persian Motifs stamps set from Altenew. Distress inks and Prima Watercolor Pencils are used for coloring. Sentiments from JustRite stamps and Avery Elle die. I added flat sequins for some interest.
Persian motifs altenew stamp

------

Card 3:

I used Spellbinder's Grate Effect die to represent texture created by well designed and manicured garden in the challenge picture. Orchids are from Oriental Orchid Stamp set and the sentiment from Label love stamp set from Altenew.

ORIENTAL ORCHID ALTENEW STAMPS

Enjoy!

Submitted to:

1. Altenew- March Inspiration Challenge


2. Simon Says Stamp: Wednesday Challenge

Thursday, February 25, 2016

Butterfly Tendrils with Gelatos & Black Cardstock

Hello all,

This is my second post today specially created for Ranganjali Blog.  I am sharing some cards I made when experimenting with Gelatos on black cardstock. I used Simon Says Stamps Butterfly Tendril die as a main feature.


-----------------------------------------------------------------


Card 1:  


This card has subtle, pastel look. For the main focus, I tried to arrange the various pieces of the Butterfly Tendrils die-cuts in wreath form. I die-cut white cardstock 4 times with this die. I coloured various components using Tropical Gelatos but rubbing the creamy colours on the paper and then smudging them with a finger. I like that it is very quick and dry as well as fun method to apply colour. You can use Gelatos as watercolors too! I used black cardstock for good contrast, embossed it with woodgrain embossing folder and sprinkled some pearlized water.

Simon Says Stamp Butterfly Tendrils

It took some time to orient and organize different pieces to create a wreath shape. I built it up from bottom up and trimmed the die-cut pieces accordingly. I adhered them with double sided tape and Glossy Accent. I added Gold Embroidery floss for added interest. I added Glossy Accents on red berries and Platinum Pearl coloured- Liquid Pearls on butterflies.
I wanted to add a sentiment in the center, which I created with two layers of Vellum pieces, die-cut with Stitched Circle die, stamped with Simon Says Stamp’s   stamp and embossed in white. I added Inca Gold’s Gold on edges of the circle die cut. Lastly, I adhered everything on a white, vertical cardbase.

-----
Card 2:

The second card has metallic look. I have Metallic Gelatos, I love them. I have been thinking of using them in a way that show their metallic characteristics. I wanted to try them on black card stock.  Butterfly tendrils die-cuts in black provided perfect opportunity to try this. Again, I cut 3-4 tendrils from black cardstock. I applied Pearl Metallic Gelato on them. For some colour variation, I used Tropical Gelatos over it at some places and blended them with a finger. That creates colourful but soft metallic appearance.

Simon Says Stamp Butterfly Tendrils

I partially embossed black cardstock with Brick Wall embossing folder. The sentiment is cut from DCWV Foiled Cardstock using Simon Says Stamp’s Happy Birthday Die. I cut a contrasting cardstock piece from Craft Smith’s Tea Party Designer Paper. I arranged and adhered various pieces of butterflies and flourishes with foam tape, double-sided tape and Glossy Accents and added Pearl coloured- Liquid Peals on butterflies. Lastly, I added whole panel on to a grey, horizontal card base.

-----
Card 3:

After these two cards, I had a lot of negative die-cut pieces left. So, I decided to use them as stencils. On a black card base, I applied Metallic Melon, Icing and Mint colours lightly with a sponge. I had another die-cut in black on which I applied in different colours Metallic Blueberry and Gold Champagne with a finger. On black cardstocks- applying metallic Gelatos with finger gives better, brighter result than sponging or watercolouring.

Simon Says Stamp Butterfly Tendrils

Simon Says Stamp Butterfly Tendrils


I arranged the die-cut under and over a Stitched rectangle with foam adhesive. Lastly, I added ‘thanks’ sentiment, with Metallic Grape colour on white die-cut, with foam and double sided adhesives. I added white stitched marks and dots with Uni-ball Signo Gel Pen.

That is it for now about my experiments with Metallic Gelatos and black cardstock!

Enjoy!


Submitted to:

Sunday, February 7, 2016

Red & Gold- You R Beaufitul Greeting

Hello Friends,

Today it is red and gold on my card. As the Valentine's day is approaching, I wanted to create something with bright red. For me, bright red and gold goes well together, and they make a perfect combination for glamour as well as traditional festivity.


So, I decided to try a combination of Ranger's Candied Apple Distress Ink and Gold- Inka Gold colors. The Candied Apple has dark red, vibrant tone without overly distracting brightness. I used Artist's Loft's 140lb watercolor paper for the front panel. First, I put down some Candied Apple ink on a clean, packaging plastic. Then I dropped water mixed Viva Decor's Inka Gold Gold color here and there into it with a brush. I put the watercolor paper over these colors on plastic and by pressing and slightly rotating the paper, I allowed colors to mix underneath and cover more area of the paper.


I let it dry and then die-cut it with My Favorite Things' Stitched Rectangle Dies. Meanwhile, I diecut leaves from Neenah's Paper using Simon Says' Clustered Leaves Die. I colored them with Inka Gold's Gold around the edges. I also embossed the sentiment from Altenew's Oriental Orchid Stamp set with White Embossing Powder on die-cut vellum. Not only I like the words and fonts of that sentiment but I also like that it is of a good size for large cards/paintings or for simple, one layer cards.

I separated branches from the Clustered leaves, arranged under the vellum piece. I added vellum piece with transparent Glue Stripes for dimension. Lastly, I added whole panel on a cardstock.

Finally, I added a heart from red cardstock and applied Glossy Accent over it.

That is it!


 Enjoy!

Tuesday, February 2, 2016

Oriental Orchid & A new store Ranganjali


Hello all!

I am very glad to announce that I will be associated with a new online craft supply store opened in India today. It is named Ranganjali, which means offering of colors. It is going to carry various international and local art and craft supplies. My crafty friend in India, you should check out this store. They are a running promotional offer and free shipping.

At this happy occasion and in view of upcoming Valentine's day, I have created this card using Altenew's Oriental Orchid Stamp set. There are very few stamps that have orchid designs. I wanted to try this stamp set since they it was released.


I like orchids. Being very different from other flowers, they carry certain charm. In most orchids, the petals seem to have been arrange in two layers and in different curvature. To capture this, I decided to use vellum for the flowers.

First, I stamped outlines of the flowers with Altenew's Ruby Red Crisp Ink. I then colored the flowers with Prima Marketing's Watercolor Pencils- 01, 09,30, 21, 84, These colors are white, yellow ochre, orange and magenta. Lighter colors I used in center and darker at the edge, to create an impression of veins, curvature and overlapping among petals. I then stamped most central areas of each flower in the same Ruby Red. It is important to remember that vellum does not absorb any ink, and so, you need to let the ink dry otherwise it will smear.


Using a stylus, I curved the petals of the flowers for added effect. I also cut and separated petals around edge of the flowers.

I used larger card size- 5x6.5 inch so that I can add long stems and rows of flower. Before stamping the stems with Peeled Paint Distress Ink, I decided on arrangement of flowers and masked those areas. I stamped the large sentiment from the same stamp set in Pearlescent Chocolate- Brilliance ink and the smaller one in Jet Black StazOn ink.


Lastly, I adhere flowers with Glossy accents, touch up some stem areas using brush, with Peeled Paint. For added interest, I added some metallic sequins. And there it is! My try to recreate orchids on paper.

These and many more craft items are available in Ranganjali store.

Enjoy!


Sunday, October 18, 2015

Watercolored Roses- Sending Hugs & Kisses

Here is another card with watercolors.

Few weeks ago, I spotted some watercolor books- postcard size and book size at Michael's. I picked up a few postcard size coloring books. I was happy to get them as I could take one with me on my long travel and have good time. I planned to use some colored postcards for card-making. Below is the example of it.

I colored images with Peerless watercolors and added other elements- white texture paste, white sequins, elements, butterflies and banner stripes. I would say, I like the quality of the paper used in these coloring books. It is of 121lb.


Submitted to:
Virginia's View Challenge- All things colored
Simon Says Stamps- Monday Challenge- Wonderful watercolors

Items used: 
Artist's loft - Art for everyone- Coloring Postcards
Peerless watercolors

Wednesday, July 29, 2015

Roses on Plastic- Forever card

Hello friends!

Today I am posting this card which took longer than usual time for me to design. I was inspired by Simon Says Stamp's- Monday Challenge- No ordinary paper this week. I had purchased a plastic paper pack from the Rubber Cafe booth from my recent visit to the Scrapbook Expo. I wanted to use this plastic paper instead of regular card-stock as a crafting surface for the challenge but I was not sure how. My mind went through many ideas. Finally, I thought of using texture paste as that is the one of the few, non-paper things that stick over plastic. I have not used other kind of plastic/acetate products before but I believe Crafter's companion's acetate. Hot off the press' acetate and Judikins embossable window plastic should work too.


I used stencils- Penny Black;'s Luster and DCWV's Arrows & Moroccan with white texture paste to create roses and chevron patterns in phase-wise manner, letting one image dry out completely before adding another image in orientation I want. After all the images were completely dry, I painted the texture paste with pearlescent watercolors to keep the flowers light and shiny. I had to go over with watercolors a couple of times as the paste seems to absorb and fade the colors. I was not happy with the brightness of colors so finally, I decided to use peerless watercolors to brighten up the flowers. I was not sure how bright they would turn out after drying. As you can see, they turned out a bit brighter than I expected. I guess I should have used peerless colors from the start. 


I used black patterned paper from DCVW's Everlasting Love stack behind the plastic and as the back panel of this vertical card. 'Forever' is from the same designer paper stack. I embossed flourishes and scrolls in gold on the black paper to add interest. Lastly, I decorated it with pearls and metallic twine.
This will make a pretty wedding or anniversary gift.

Enjoy!


Submitted to:
Simon Says Stamp- Monday Challenge- No Ordinary Paper
Simon Says Stamp- Wednesday Challenge- Anything Goes

Items used:


Recollection- Flourish, Swirls cling stamp set
Stampin up- Elements in Style set


Tuesday, July 28, 2015

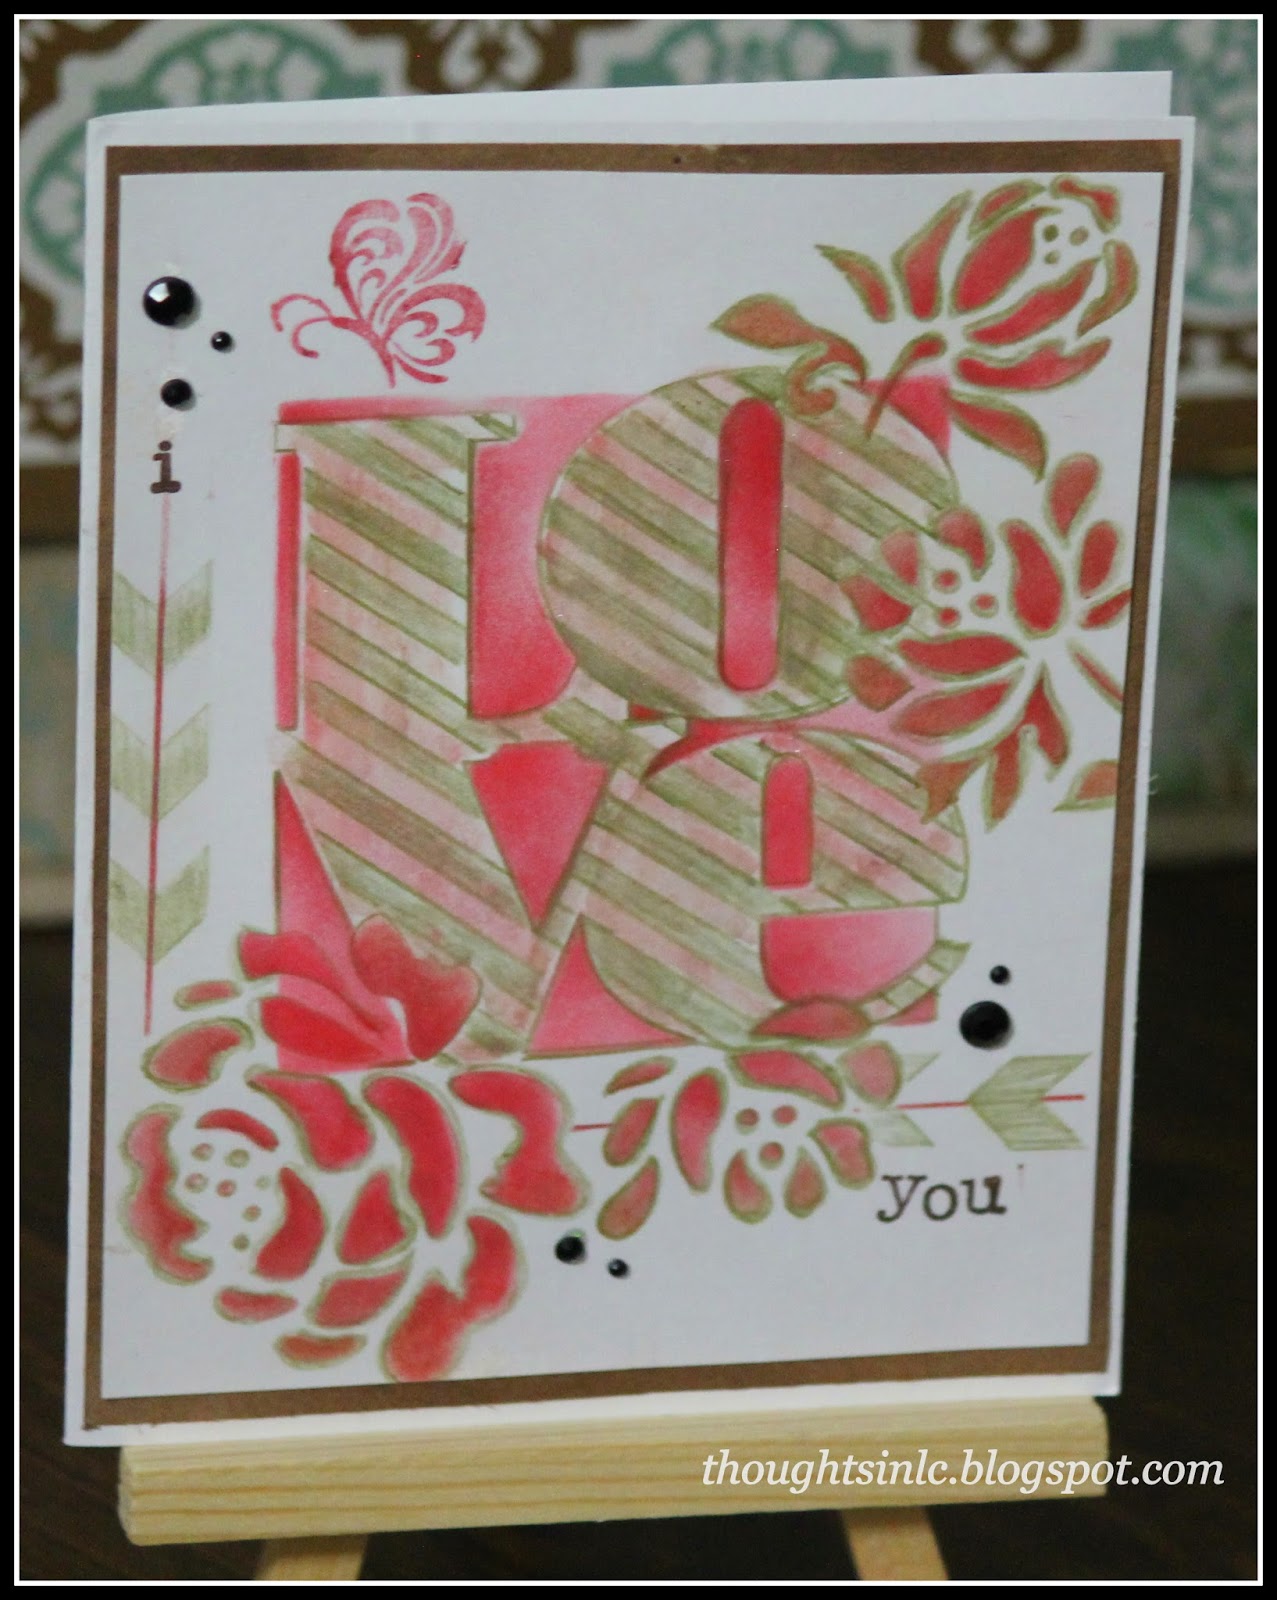
Stenciled- Love You card

Hello!!
Today, I am posting this simple card which I created using stencils, gelatos, metallic pencil-colors and pearlescent watercolors.

Enjoy!


Submitted to:
 
A Blog Named Hero- Challenge Make the Sentiment the Star


Items used:


DCWV 5X7 Template Patterns Arrows & Moroccan
Recollections Black Rhinestones